Introduction
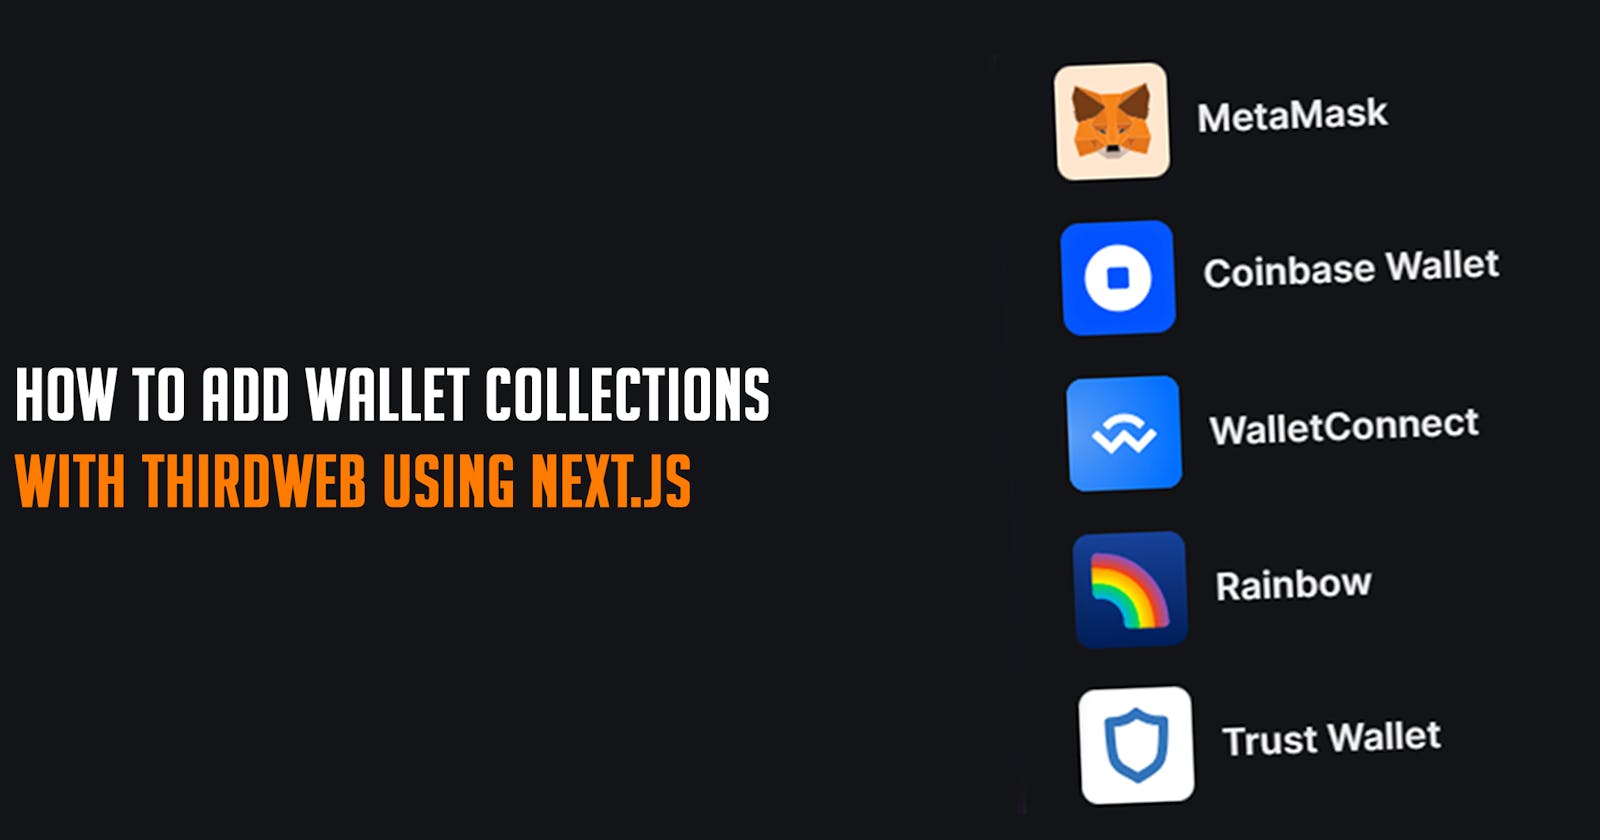
Welcome to a concise yet comprehensive guide on integrating ThirdWeb and Next.js for advanced web3 development. In this tutorial, you'll learn to add wallet connections to your web app, connect with various blockchains, and enhance the user experience of your decentralized applications. Let's dive in and explore the future of Web3 development!
What is ThirdWeb?

Thirdweb stands out as a comprehensive web3 development platform designed to empower creators, artists, and entrepreneurs to launch and manage their Web3 projects with ease. This platform offers an inclusive solution, equipped with a range of tools, including software development kits (SDKs) in various programming languages, smart contracts, as well as essential tools and infrastructure.
What is Next.js?
Next.js is a React framework that makes it easy to build server-rendered and static web applications. It provides a number of features that make it ideal for building Web3 applications, such as server-side rendering, static site generation, and incremental static regeneration.
Why use Thirdweb and Next.js together?
Thirdweb and Next.js are a powerful combination for building Web3 applications. Thirdweb provides the APIs and tools that you need to implement Web3 features, and Next.js provides the framework that you need to build scalable and high-performance web applications.
Prerequisites
We recommend you have the following tools installed before you begin:
Node.js and npm: To install our SDK into your project
A MetaMask for wallet connection
Basic knowledge of Typescript and Next.js
A Thirdweb account
How to Add wallet connections to users with Thirdweb using Next.js in 4 Steps
Step 1
Install Next.js
npx create-next-app@latest
Once the installation is complete, you can launch your Next.js application by typing "npx run dev" in your terminal. Then, simply navigate to localhost:3000 to access your application.

Step 2
To establish a connection between our app and the blockchain, it is necessary to install additional libraries and configure them accordingly.
npm install @thirdweb-dev/react
We have now installed all the necessary libraries to build our app.
Step 3
In this tutorial, ThirdWeb configuration in the_app.tsx file is one of the most critical steps.
Open your _app.tsx file in your root folder and replace it with the code below.
// Import necessary modules and styles
import "../styles/globals.css";
import type { AppProps } from "next/app";
import Head from "next/head";
import {
  ThirdwebProvider,
  // Import the wallets you want to support
  metamaskWallet,
  coinbaseWallet,
  walletConnect,
  safeWallet,
  localWallet,
  trustWallet,
  zerionWallet,
  bloctoWallet,
  frameWallet,
  rainbowWallet,
} from "@thirdweb-dev/react";

// Define the main app component
function MyApp({ Component, pageProps }: AppProps) {
  // Return the ThirdwebProvider component, wrapping the entire app
  return (
    <ThirdwebProvider
      clientId={process.env.THIRDWEB_CLIENT_ID} // Client ID for Thirdweb authentication
      supportedWallets={[
        metamaskWallet({ recommended: true }), // Include Metamask as a recommended wallet
        coinbaseWallet(),
        walletConnect(),
        safeWallet({
          recommended: true, // SafeWallet is recommended for personal wallets
          personalWallets: [
            metamaskWallet({ recommended: true }), // Include Metamask in personal wallets
            coinbaseWallet(),
            walletConnect(),
            localWallet(),
            trustWallet(),
            zerionWallet(),
            bloctoWallet(),
            frameWallet(),
            rainbowWallet(),
          ],
        }),
        trustWallet(),
        zerionWallet(),
        bloctoWallet(),
        frameWallet(),
        rainbowWallet(),
      ]}
    >
      {/* Head component for managing document head metadata */}
      <Head>
        <title>Title</title> {/* Set the title of the application */}
        <link rel="icon" href="/favicon/favicon.ico" />{" "}
        {/* Set favicon for the application */}
        {/* Metadata for Microsoft browsers */}
        <meta name="msapplication-TileColor" content="#ffffff" />
        {/* Theme color for mobile browsers */}
        <meta name="theme-color" content="#000000" />
      </Head>

      {/* Render the main component of the application */}
      <Component {...pageProps} />
    </ThirdwebProvider>
  );
}

// Export the main app component as default
export default MyApp;
This code snippet is the foundation for integrating ThirdWeb functionality on your website. It ensures seamless interaction with the ThirdWeb platform and supported wallets. The clientId parameter is a crucial part of this code that enables ThirdWeb authentication. It uniquely identifies your application after you create an account with ThirdWeb. You must generate this parameter after setting up your account to ensure the proper functionality of ThirdWeb services in your application.
Step 4
To ensure your application is up-to-date and optimized, replace the current content of your file with the provided code snippet below.
We would use four different kinds of thirdweb react hooks hooks. To learn more, visit their documentation.
The code below should be included in your index.tsx file.
// Import necessary modules and components
import React from "react";
import type { NextPage } from "next";
import styles from "./index.module.css";
import { ConnectWallet } from "@thirdweb-dev/react";
import {
  useAddress,
  useChain,
  useConnectionStatus,
  useChainId,
} from "@thirdweb-dev/react";

// Define the Home component
const Home: NextPage<{}> = () => {
  // Get user address, chain details and connection status, using hooks
  const address = useAddress();
  const status = useConnectionStatus();
  const chainId = useChainId();
  const chain = useChain();

  // Render different content based on connection status
  if (status === "unknown")
    return <div className={styles["container"]}>Loading...</div>;
  if (status === "disconnected")
    return (
      <div className={styles["container"]}>
        {" "}
        Disconnected
        <br />
        <ConnectWallet
          theme={"dark"}
          modalTitle={"Connect"}
          modalSize={"wide"}
          welcomeScreen={{
            img: {
              src: "Image address",
              width: 150,
              height: 150,
            },
            title: "Welcome Screen Title",
            subtitle: "Wallet Screen Subtitle",
          }}
          modalTitleIconUrl={"Your Image Link"}
        />{" "}
      </div>
    );
  if (status === "connecting")
    return <div className={styles["container"]}>Connecting...</div>;
  if (!address)
    return <div className={styles["container"]}>No wallet connected</div>;

  // Render the component with user's wallet details
  return (
    <div className={styles["container"]}>
      {/* Container for centering content */}
      <div className={styles["center-content"]}>
        {/* Wallet connection component */}
        <ConnectWallet
          theme={"dark"}
          modalTitle={"Connect"}
          modalSize={"wide"}
          welcomeScreen={{
            img: {
              src: "Image address",
              width: 150,
              height: 150,
            },
            title: "Welcome Screen Title",
            subtitle: "Wallet Screen Subtitle",
          }}
          modalTitleIconUrl={"Your Image Link"}
        />
        {/* Display user's, wallet address, connected chain, and chainId */}
        <br />
        <h1>
          My wallet address is <br /> {address}
        </h1>
        <p>Connected to {chain?.name ? chain.name : "an unknown network"}</p>
        <div>Your chainId is {chainId}</div>
      </div>
    </div>
  );
};

// Export the Home component as default
export default Home;
Css
index.module.css
@import url("https://fonts.googleapis.com/css2?family=Kanit&display=swap");
.container {
  overflow: hidden;
  text-align: center;
  display: flex;
  justify-content: center;
  align-items: center;
  height: 100vh;
  flex-direction: column;
}

.container button {
  background-color: black;
  color: white;
  margin-top: 1em;
}

.container h1 {
  font-weight: 700;
  font-size: 1em;
  letter-spacing: -0.01em;
  font-family: "Kanit", sans-serif;
  text-align: center;
}

.container h2 {
  font-size: 1.35rem;
  line-height: 1.5rem;
}

.container h3 {
  font-size: 1.25rem;
  line-height: 1.5rem;
  font-weight: 800;
  font-family: "Kanit", sans-serif;
}

.container P {
  font-size: 0.75rem;
  line-height: 1.125rem;
  font-weight: 400;
}

.container hr {
  height: 1px;
  background: var(--app-gray-200);
  border: var(--app-gray-200);
  border-radius: 1px;
}
global.css
@import url("https://fonts.googleapis.com/css2?family=Kanit&display=swap");
:root {
  --app-gray-100: #e5e5e5;
  --app-gray-200: #aeacb8;
  --app-grey-100: #f4f4f4;
  --app-grey-200: #9693a2;
  --app-black-100: #424141;
  --app-black-400: #0e040c;
  --app-black-500: #13111a;
  --app-blue-100: #f2f8ff;
  --app-blue-200: #d6edff;
  --app-blue-300: #55ceff;
  --app-blue-400: #1792ff;
  --app-blue-500: #0d6ecc;
  --app-blue-600: #054d99;
  --app-blue-700: #003066;
  --app-green-400: #0f6664;
  --app-green-500: #006655;
  --app-red-500: #cc154a;
  --app-white: #ffffff;
  --app-primary-font: "THICCCBOI-Regular", "sans-serif";
  --app-primary-font-bold: "THICCCBOI-Bold", "sans-serif";
  --app-border-radius-sm: 6px;
  --app-border-radius-md: 21px;
}

html,
body {
  padding: 0;
  margin: 0;
  height: 100%;
  font-family: "Kanit", sans-serif;
}

body {
  background: #ffffff;
  color: rgb(0, 0, 0);
}

a {
  color: white;
  text-decoration: none;
}

* {
  box-sizing: border-box;
  font-family: var(--app-primary-font);
}

h1,
h2,
h3,
h4,
h5 {
  font-family: var(--app-primary-font);
  font-weight: 600;
}

p,
span {
  font-weight: 400;
}
This is the final result.

To sum up, by integrating ThirdWeb with Next.js, you can easily enable authentication in your web3 dapp. This guide has taught you how to implement wallet connection functionality, display important user details, and manage different connection statuses. This integration not only enhances your application's functionality but also improves the overall user experience. By using ThirdWeb's powerful features in combination with Next.js' robust framework, you have equipped your decentralized application with a secure and user-friendly authentication system.
If you want to explore further, you can expect more articles and resources on web3 development, ThirdWeb, and Next.js to improve your skills and keep up with the latest advances in the field.
If you found this guide helpful and wish to delve deeper into web3 development, consider exploring the following recommended links:
